This guide will demonstrate how to get your Germans ready for the battlefield in 5 easy steps, most of which just take a minute or two and involve minimal painting skill. This guide is also suitable for painting characters but you may wish to add extra detail during the basecoating stage.
Here’s the chap we are going to be painting:
Materials used in this guide:
Step 1: Undercoat
Using the Uniform Grey undercoat spray, apply a even undercoat using sweeping motions across the model or models. Note: Remember to shake the can for at least a minute.
Step 2: Basecoat
Using the various Citadel paints, paint the model using flat colours, i.e. using no shading or highlights.
For our German infantryman we used Codex Grey for the helmet, a mix of Chaos Black and Codex Grey for the boots straps and pouches, Fortress Grey for the gaiters, Elf Flesh for the face and hands, Scorched Brown for the rifle stock and shovel handle and finally Boltgun Metal for the metallic parts of the rifle and shovel.
The Uniform Grey undercoat is left as it is to represent the German’s er… uniform, a mixture of 80% Codex Grey & 20% Fortress Grey can be used to touch up any areas that are accidentally painted over.
The only real detail that was added were the eyes and stripes on the collar. The eyes are just Skull White with Chaos Black spots for the pupils, the collar detail was added using Skull White.
Step 3: Quickshade Dip
In this step we aim to get all the effects that would normally be achieved through highlighting and washing in one simple step.
Quickshade dip is a pigmented varnish so in this step you are adding shading and protecting your model at the same time. As this is a varnish it must be used after you have completely finished painting your model.
We are using “Strong Tone” Quickshade dip on our German, “Soft Tone” & “Dark Tone” are also available, strong is the medium tone dip.
When using Quickshade dip you should dip your model using a pair of pliers and shake it off 5-6 times and then leave for 24 hours (this is why this is an easy painting guide rather than a quick painting guide

).
You can also paint Quickshde on, you will need to be quite liberal with the amount used, also brushes will need to be cleaned thoroughly with washing up liquid when you have finished.
Step 4: Basing & Anti-shine Varnish
To base our German Infantryman we first painted the base Scorched Brown and then added some sand to the base using super glue. We finished off by applying PVA to those areas of the base not covered in sand and giving the base a dip in a tub of static grass.
Quickshade dip produces a gloss finish, which most gamers are not too keen on, so to achieve a matt finish we give our model a coat of anti-shine matt varnish. As with the undercoat you should apply a even coat by using sweeping motions across the model or models, once again remembering to shake the can for at least a minute before you start.


 Warhammer Ancient Battles King Arthur rules....
  The pics below are from a playtest game using rules developed for these pre production figures by Eureka Miniatures..


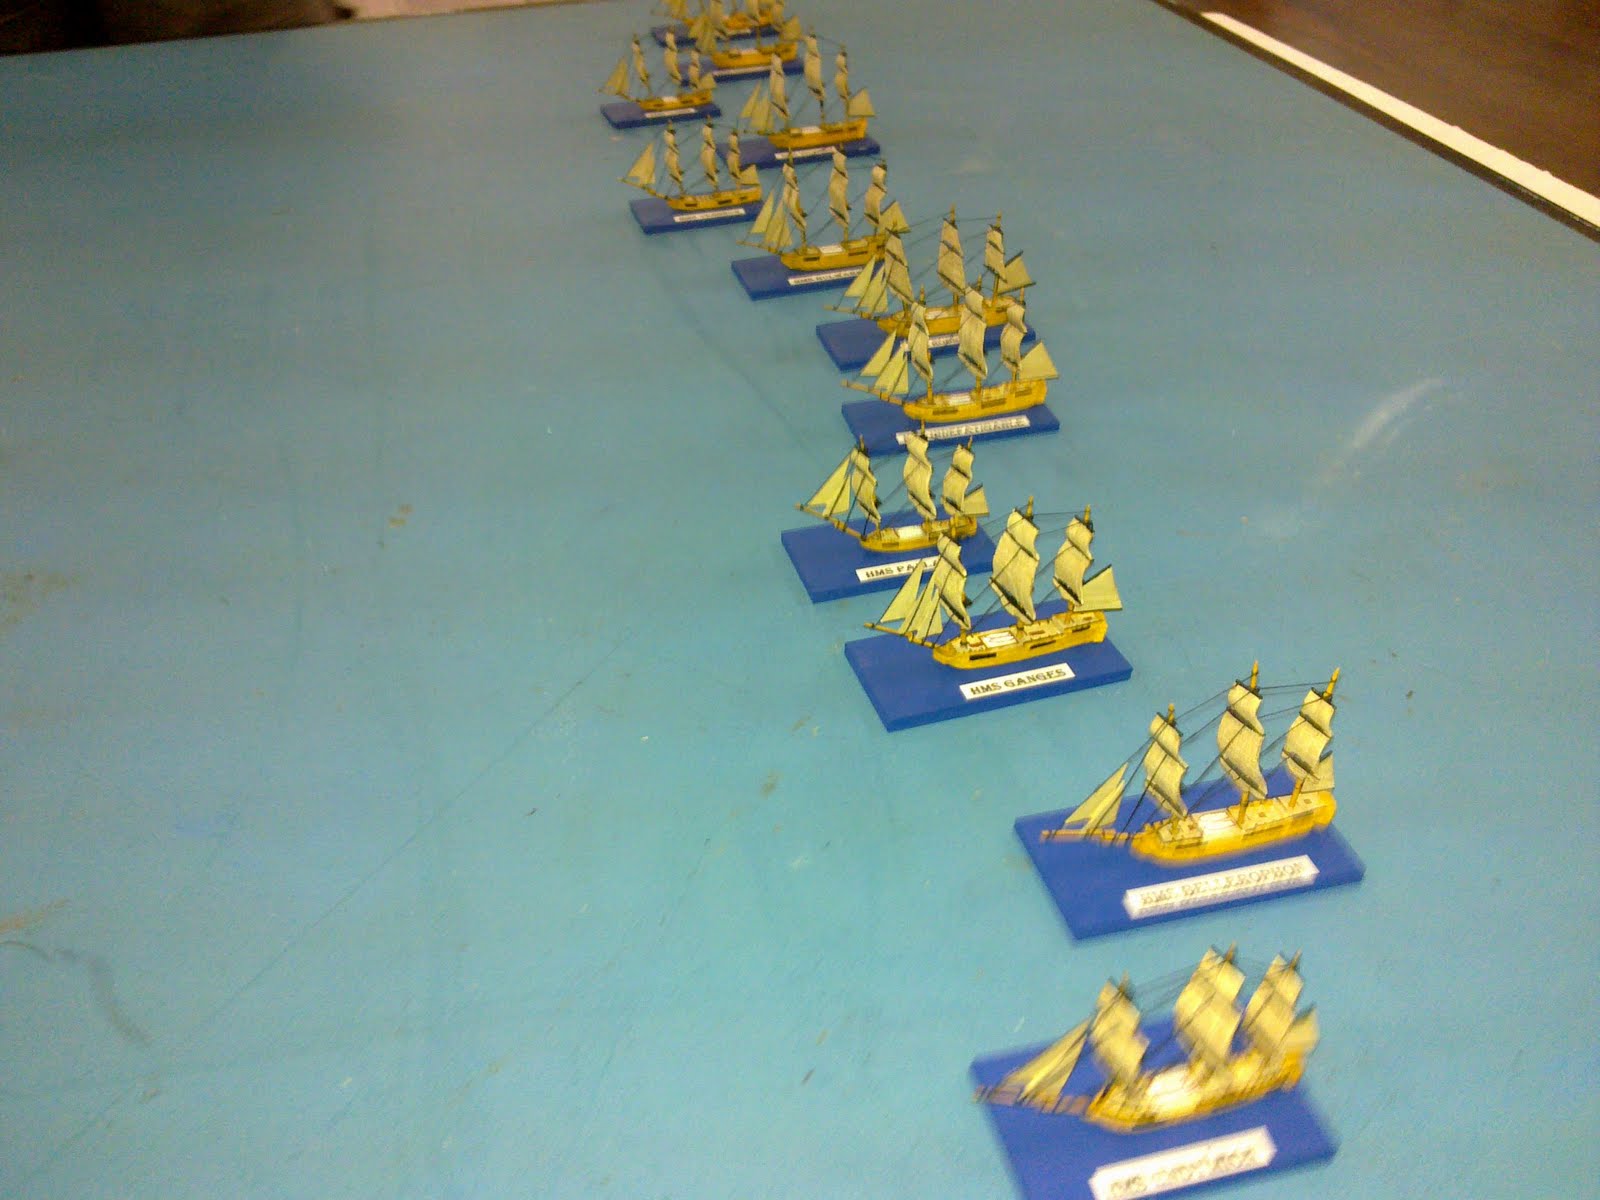
 The Trafalgar rules have proven pretty popular at the club...here the English Fleet are attempting to destroy the French Harbour..my arch nemesis Greg was commanding the French Fleet, and last I looked was recieving a right proper English spanking...
 A bit of Fields of Glory action, can't go past some Romans in 28mm now can you?
 Wings of War in action on a Hotz Game mat...how we marveled as they climbed, how we ooohed as they dove, how we applauded when one chap got cut in half by his own propellor...
 This War of the Ring display recreated a scene in the second Lords of the Ring movie when the Orcs are ambushed...apparently..I was just bamboozled by the number of (painted) models!!
  Finishing off with some Wierd WW2 and Incursion love...apologies for the out of focus pic....


