
Right Stuff here!
Long time coming I know, but I simply had to provide the follow up report the cheering fans were dying for concerning the outings of my freshly painted 101st Airborne!
Being quite new to Bolt Action(a total 2 games under my belt at the time when I agreed to go) I was quite hesitant to join up to a tourney when invited to go down with a good mate of mine, but I figured it'd be a good learning experience and a fun weekend even if I did spend it getting stomped and boy am I glad I accepted.
Wintercon 2022 was being held as a friendly small scale but still competitive tourney and seemed like the perfect spot to be to learn how to not get my butt kicked.... by getting my butt kicked. Regardless I was plenty excited to vs something new with my airborne and quickly whipped up a list. The 1011 pt limit was a weird one but I could squeeze in some nifty stuff with the small buffer, especially when the TO Peter West(thanks again) was kind enough to allow my fluffy list to use the US Airborne (D-Day) Theatre Selector.
 |
Luckily my mate and I managed to get a practice game in with each mission that would be used, which was very helpful as a couple of the missions weren't from the Rulebook, but instead from the Bolt Action Alliance mission pack. Also just a good excuse to get more games in :)
Finally the weekend game and after a nerve wracking evening rushing to get the last model based (my Stoessi's Heroes Eugene 'Doc' Roe mini) there was no delay is whipping straight into the first game despite to biting cold of Canberra Winter.
 |
| The Table layout for game 1 |
GAME 1: Sectors
Opponent: Peter West and his Fallshirmjager
A mission that loved the sound of and loved in my practice game as it favoured my elite infantry splitting up around the board and winning man to man against regulars. Unfortunately, my scheduled game 1 opponent was a no show, so I vs'd TO Peter West and his Fallshirmjager fill in army, meaning that advantage I had over regular armies was now gone against the veteran Germans.
The board was very open, and after he won the roll of for sector selection, naturally chose the quarter that allowed him to forward deploy his Sniper and artillery spotter and give them LOS to pretty much the entire board except my back corner. This was to be a game of hide and seek and then a final made dash for the most part.
 |
| The boys stick to cover to keep the enemy artillery quiet |
 |
| Pushing hard northward to claim the North-West sector for the Allies. |
My pathfinders then made a bold flanking manoeuvre to try to hold one of his squads in place with pins to try to stop it scoring but was unsuccessful, as were the 3 full salvos of shots from a full strength para squad at a flamethrower team who was making a mad dash across the centre courtyard to score. The game then ended when I misjudged the distance he had to make for his light mortar to run into my Sector. I didnt think it would make it so I didnt shoot at it, but it made it into my deployment sector by 1mm, giving him 3 points rather than 1, and thus the win.
Was a very tense and fun game. Learned quite a bit from Pete during the game and and thankful for him filling in so I didn't have a bye.

 |
| Pack Howitzer starts zeroing in.... |
Turn one played out how you expect it to, lots of US infantry running on and into the Hard Cover/out of sight to hide from the big guns. I called in the first of 2 airstrikes figuring the Flakvierling would shoot it down, but id take the small chance of it coming in. Start of turn two we found out it was a Rookie pilot looking to strafing run my own boys, but fortunately the Flakvierling served me well and didn't fail at its main function.
Here's were it all gets very bloody, very quickly. He decided to keep all of his armour in the rear and make a dash right at the end of the game due to my strong position in the ruins away from anywhere he could get a good
 |
| The Air force makes it triumphant return to battle! |
Suddenly the skies were opened up for the airforce to make its return, and what a return it was! The Air to Ground Bomber let loose its payload straight ontop of 2 hanomags, one filled with panzergrenadiers and one empty(was towing the flakvierling), killing all but 2 grenadiers! It was Turn 3 and he'd already lost half his army. Pretty grim stuff.
Keeping a brave face on, his continue his back hold until the time was right, sticking to his board edge still with his Panther and last Hanomag of Panzergrenadiers. Unfortunately for him, my howitzer crew decided to put on their glasses that day and slammed the sighting round square into the lap of the Panzergrenadiers in the Hanomag turning that squad and transport to one big fireball.
 |
| Did the Screaming Eagles get too reckless? Nope! |
 |
| The Panther took the bait! Light 'em up boys! |
I won the toss to pick sides, and picked to attack. Mainly because my Pathfinders would prove a right pain in the ass for his defence, but also because it made my Air Observer's job much easier as he isnt advancing into me, as well as it stops him taking full advantage of the mobility of his trucks and Stuart to attack swiftly.
I went with a bold strong side push. With my Pathfinders coming in from an outflanking manoeuvre, I sent 2 squads hard down that flank with the plan of swiftly taking the easternmost objective and then pushing hard along his deployment edge to claim the middle objective. Luckily the Stuart and a good portion of his army were on the far side of the table, so I set up the light mortar, a bazooka team, and the light howitzer in positions so that they could pepper what my infantry wasnt assaulting with pins to delay their reinforcement of the right flank.
 |
| The awesome Jungle table made for some awesome camo |
I call in an airstrike on one of his rifle squads on the right flank so I am still relatively full strength by the time im pushing for the middle. The strike doesnt come in right away, but he sends the squad marked in blue flare forward onto me so that if I roll a 1 for the next turn, he can get maximum damage back onto me. In the meantime he sends some shots down range onto one of my main para squads. 10 Regular US army with a BAR shooting at 8 Veteran paras in heavy cover. He manages to kill 4 and I fail the morale check despite the officer negating the pin. Goodbye para squad. This was one of 2 failed morale checks the entire weekend, both crucial but we'll get to that. Suddenly this game got a LOT harder. Luckily the airstrike came in next turn and with some assistance from small arms, wiped the offending Reg squad.
Needing to get in there before he could reposition, it was time for my Pathfinders to move in and for the remaining 2 para squads to rush his back edge.and prepare for the push for the second objective. The pathfinders came in, easily wiping the medium mortar that was there, and claimed the far right objective for me. 1 half strength regular squad that was hurt from the 2nd airstrike was all that was left to contest them, but soon enough the Pathfinders made short work of them as well as the officers that accompanied them.
 |
| Strong push up the right flank! Move Move Move! |
Jai was a great opponent to play and gave me a very fun and intense game that left me exhausted at the end of a big day.
 |
| Theres a sniper in the belltower? Let's rush him! |
Adam brought his Belgians which were very new to me and as always its cool to see new stuff. A Tankette, Armoured Car, some regular squads, Trucks, HMG, Sniper, Medium Mortar, and Medium Howitzer.

My Pathfinders came in and executed a squad of Belgians firing squad style, my Howitzer and Light mortar continued to miraculously hit every 2nd or 3rd sighting round, and my Bazooka was having a contest with his HMG as to who could miss more.
 |
| It had to happen eventually... |
The end of the game he mad dashed what was left of his army onto the center objective to make sure neither of us
could claim it. Unfortunately for him, he also moved his officer that I was zeroing in on with my howitzer. The officer that was holding the back objective. All the other units dashed forward to the center. Meaning the game went to me for holding 1 objective to none. Knowing he was kicking himself, we rolled the howitzer round that was zeroing in had he not moved the officer and found out the officer was going to die regardless.
 |
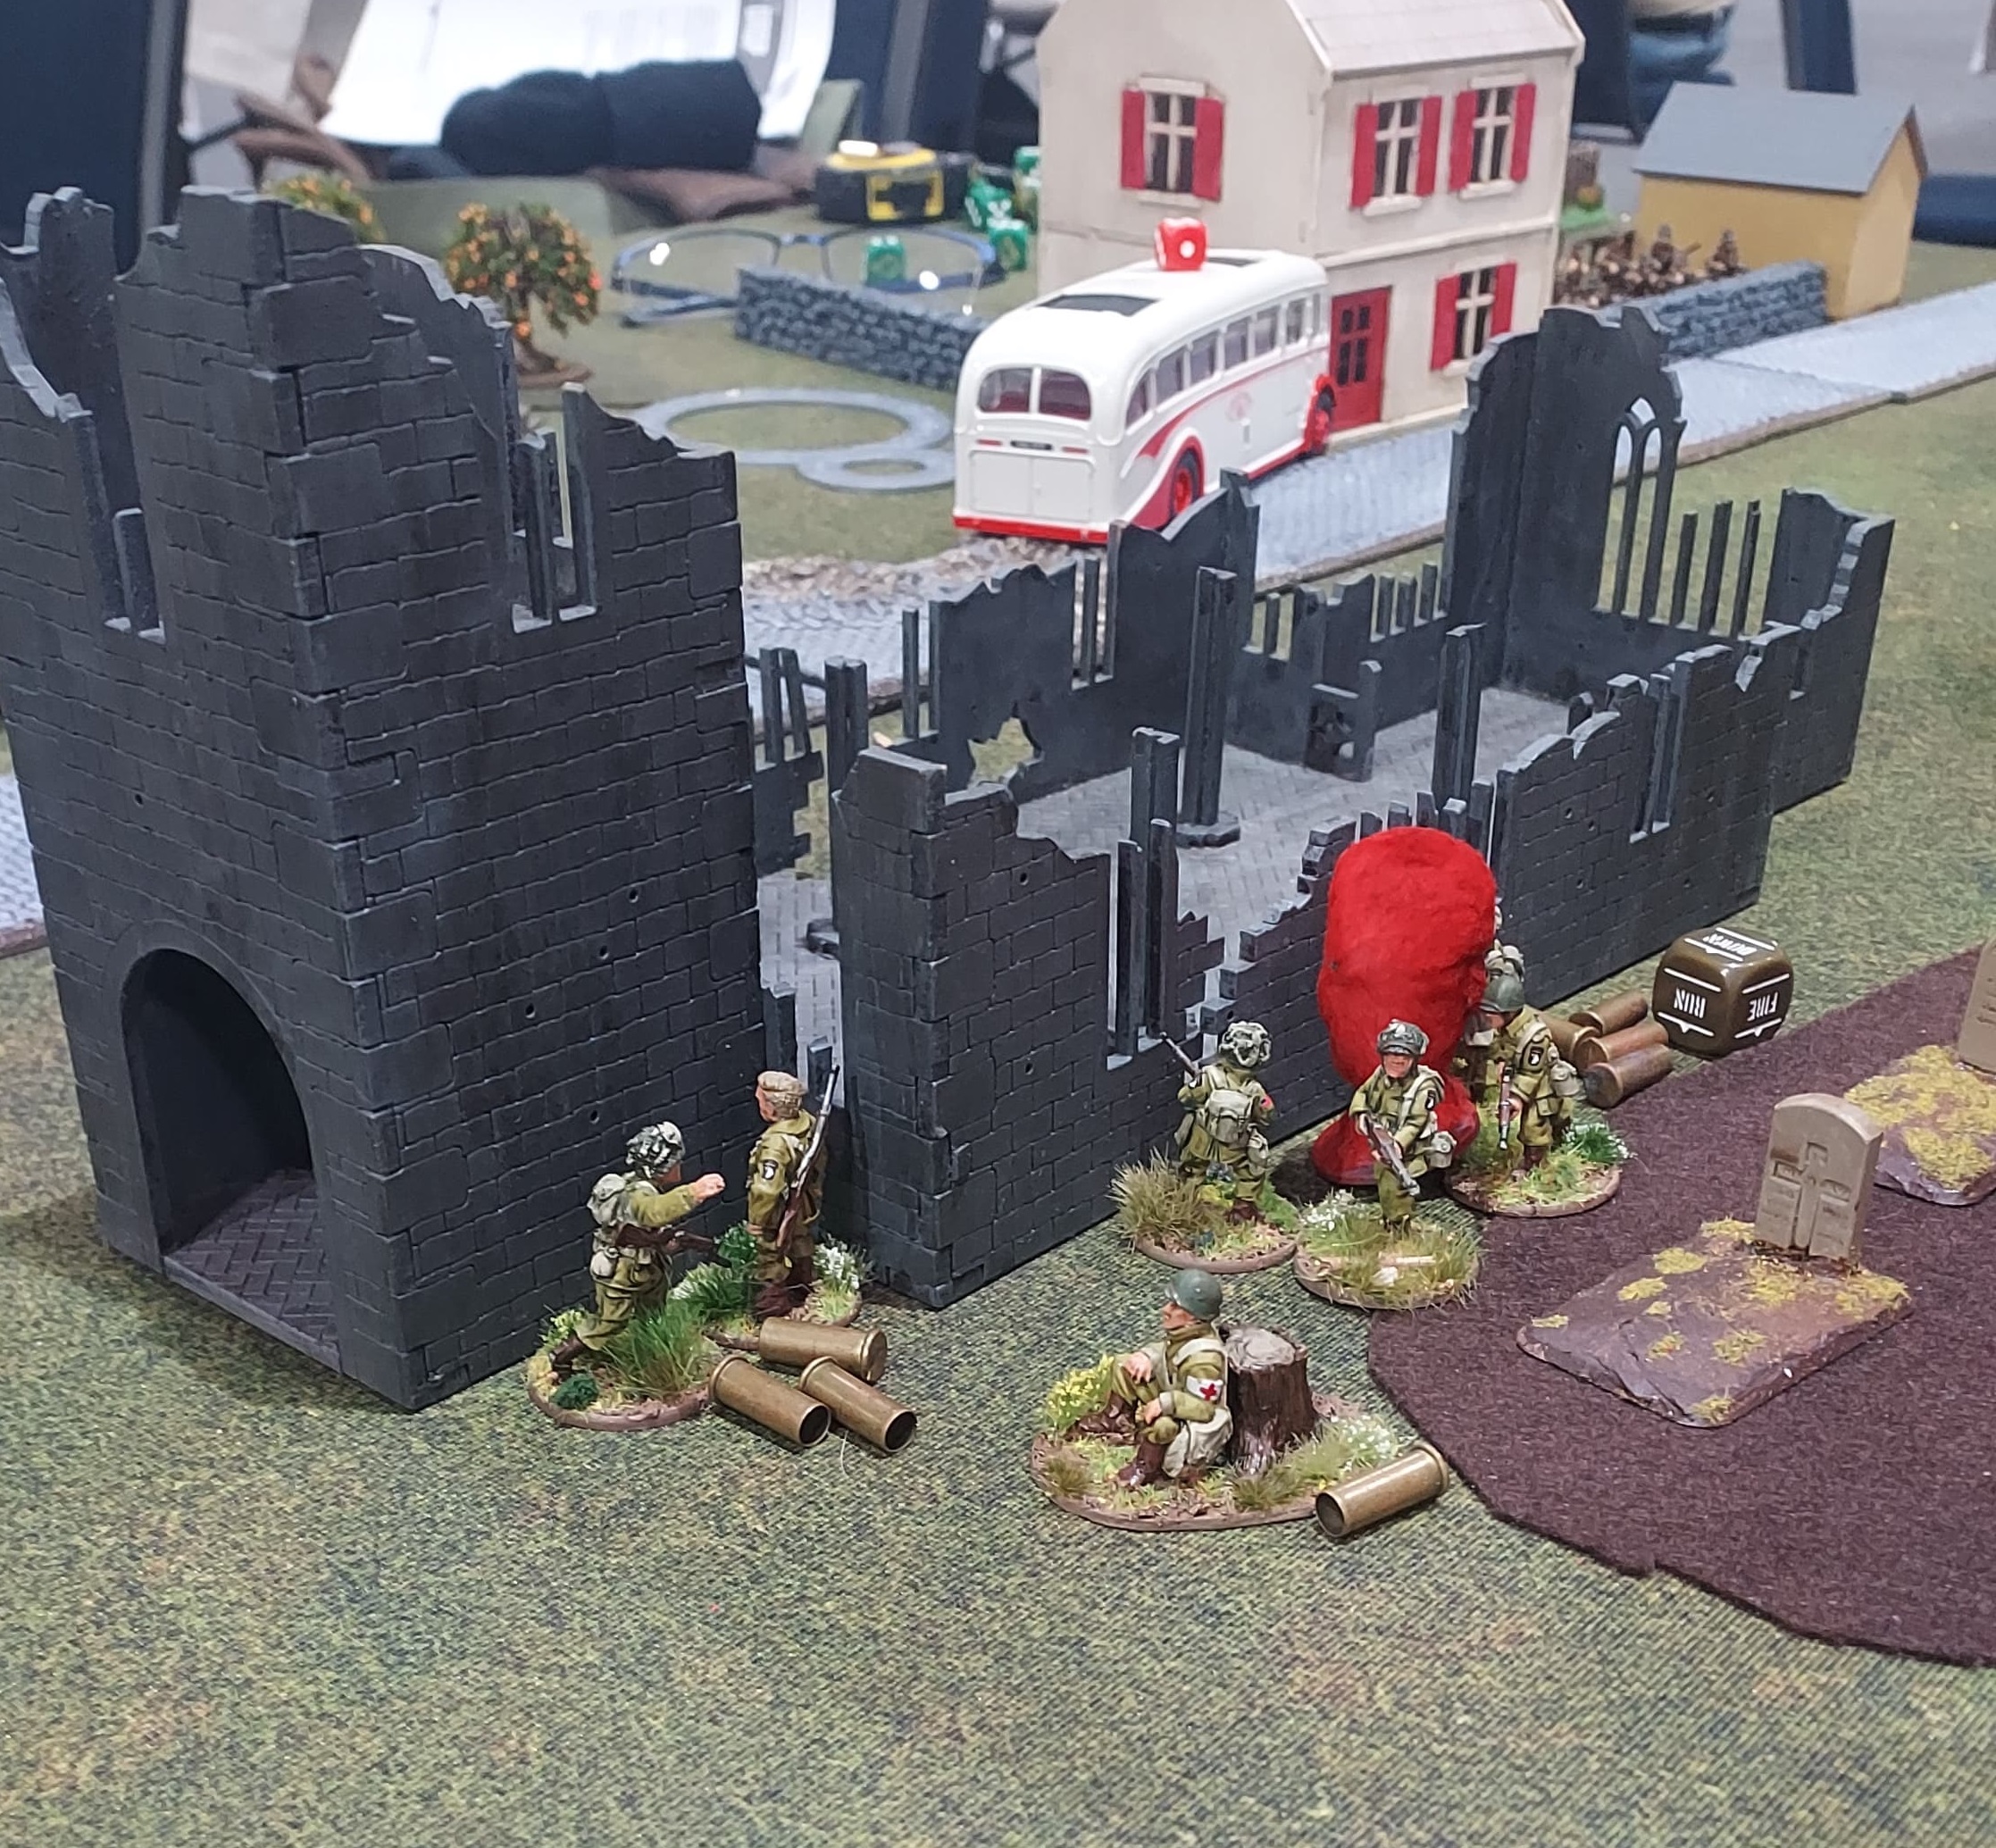
| Taking cover in the ruins of the town chapel, the airborne await their supply drop |
A terrifying list of British Paras that made me doubt my chances. It was a mission to kill as many units as we could, and it was table of Veteran infantry. It was going to be tough for both sides. His list consisted of a Light Howitzer, Medium Mortar, Sniper, Piat team in a Jeep, 2 Para squads of rifles, 2 Para squads of half smgs, and 2 twin machine gun Jeeps.
My Air observer called in an airstrike onto his howitzer which only managed to get half the crew, but got 5 pins onto it, removing it from the game for the foreseeable future. Now understanding the threat the observer could pose, he managed to get the first dice and snipe the observer off of the table. Then, after some careful positioning, his sniper team had to relocate out of the shack he was hiding in. This brought him across the firing line of my HMG which promptly shot them to shreds. One downside of my list is that Snipers can instantly kill about half my army, so they are a huge headache for me so this was a huge relief.
 |
| These boys deserve a medal of bravery for holding up this many paras all by themselves. |
My pathfinders came in and sprayed down one of the rifle squads down to half strength. They then were counter flanked and sprayed at. Miraculously, I lived through a salvo of 12 point blank shots only taking 2 casualties. For 3 turns after this point, this Pathfinder lived in between 2 squads firing point blank at them and living far longer than they should have. I think between games they must have been doping some super soldier serum to live that long.
The entire game there was only 1 point between us. I'd kill a unit and score, he'd kill a unit and score. I'd kill a unit, he'd kill a unit. Rinse repeat. I claim the lead, he ties it up. Rinse repeat. This was happening right up until the very last dice. We had just drawn a dice for him when the call for "Dice Down! Resolve the dice in your hand if you just drew one" came. So we went to resolve this last dice. A dice for him. I had just reclaimed the lead by rushing forward with a para squad and gunning down his Light Mortar. This put me square in the sights of the Howitzer. Still having 2 pins on it after some unlucky Rally tests, he passes the order test. He manages to hit, despite the pin and team weapon penalty for only having 1 man left in the crew. Manages to inflict 3 pins and kill 4 of the 8 man squad forcing a Morale test. The Nearby officer lets me ignore 2 of the 3 pins. Roll the morale test...... fail by 1. Squad runs, 1 point for him, game end. Draw.
Whilst most times i'd be pretty bummed for being robbed out of a win on the last rolls of the last dice, it was a super intense and fun game with a really good opponent that I was confident would wipe the floor with me so I was very happy that I only just didn't eek out the win rather than being tabled. Julian was a fantastic opponent who made for a tough game and easily the most fun and intense of the weekend, hence the lack of photos from this game.
 |
| Happy with my results, and my mate coming away with the infamous Hanoswag Award |
Happy Gaming all,
Right Stuff out
Fabulous! I have loved watching this project evolve this year, the modelling and the gaming. An awesome looking army and great to see you decisively bring them to bear on the enemy! Dick Winters would be proud :-)
ReplyDeletePS Super kudos to the well deserved Hanoswag winner too!!!
Amazing! What a great tournament for you. I am just starting putting a force together myself and I have to ask, what are the shell casings for, other than looking super cool?!
ReplyDeleteThanks! The shell casings are my pin markers
DeleteGenius! They have just gone on my must have list!
DeleteG’Day Right Stuff!
ReplyDeleteCracking looking army and a really good report. 5th out 23 is pretty darned good in my opinion so very well done indeed!
All the best and say hi to the old man,
DC
Thanks David
ReplyDeletePretty chuffed with that result, it most definitely has me keen for more.