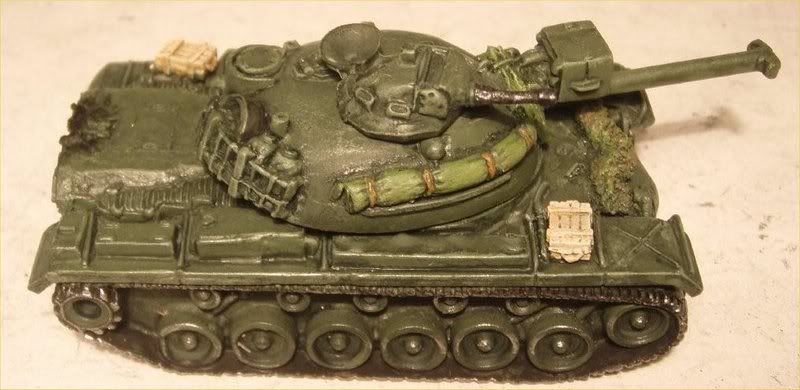
Detailing was done using my minimalist technique where 'less is more' and the hint of a detail is to enought to suggest it (meaning I do little because I'm not very good at it!). The baggage and crates I added were now painted, as were the cupola gun barrel and the main gun surround. The tracks were also blackened, followed by a light GW bolt gun metal drybrush, and finally the exhaust outlets were blackened with some soot splashed back up onto the back plating. The minimal ID lettering Ive seen on Vietnam tanks was omitted as it would be covered with mud later anyway.
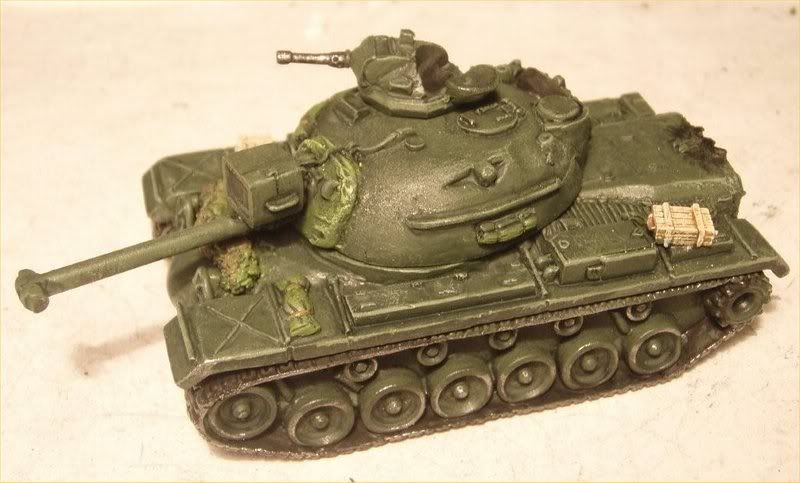
It was at this point that I thought I should have added more baggage earlier in the process but it can also be added later. I also reduced it when I realised the turret didn't train fully with too much around it, so that is realistic I suppose. One very common mod in Vietnam seems to have been to add extra track sections around the turret to created a spaced armour effect as an anti-RPG measure, but I havent yet found spare tracks in 1/100 scale.
Weathering I have always found to be a tricky balance of too much vs cant see it from greater than 6 inches away and probably something I'd love to have an airbrush for. Anyway, Drybrushing with Tamiya dark earth (for dried mud) and Ral Partha Adobe Brown (for wet mud) on the lower half, then I did a few loads on an old toothbrush for splatters. Actually, I was enjoying this bit too much and went a little overboard, but I like the overall effect.
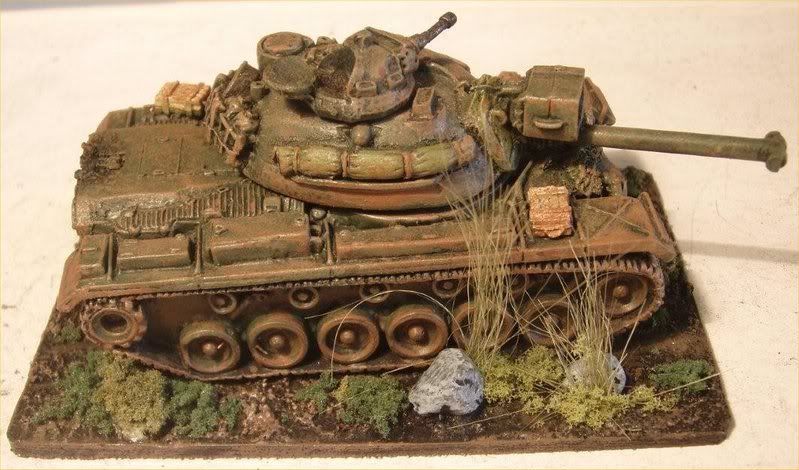

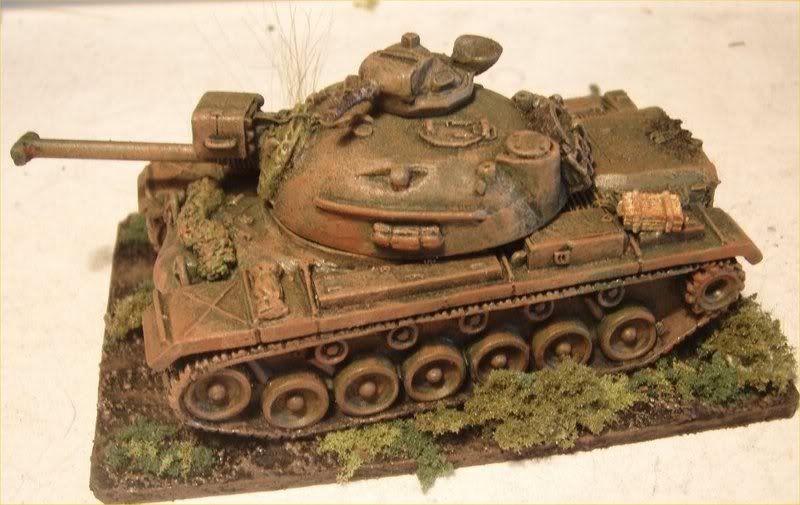
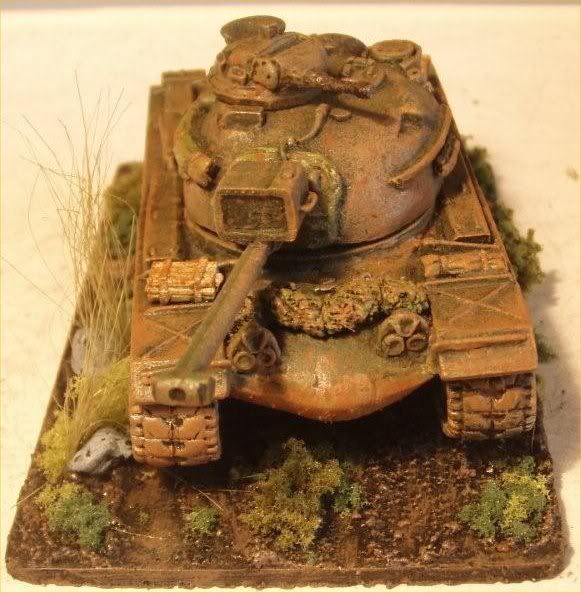
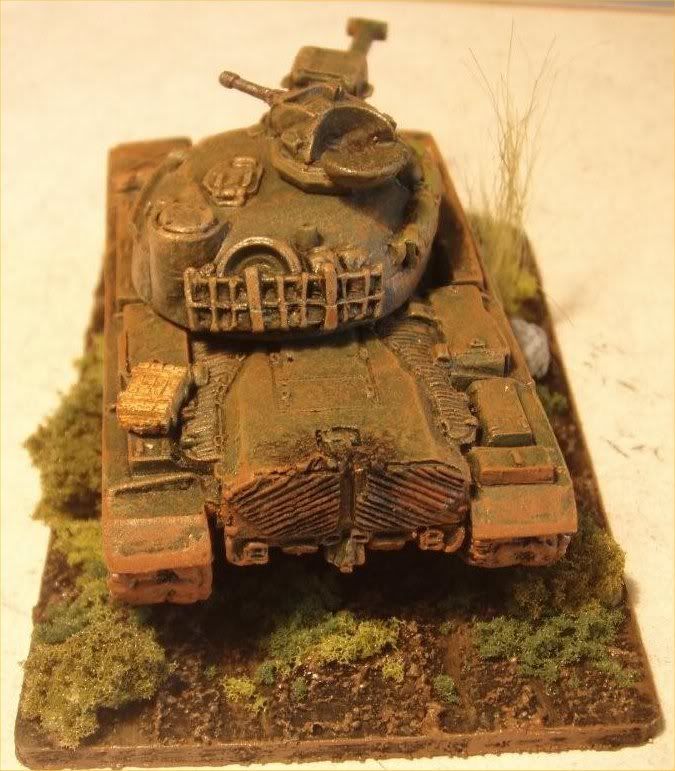 So thats it - 1 vehicle down, heaps to go!
Great Stuff! That mud looks perfect!
ReplyDeleteSome kind comments and very useful constructive advice regarding cam net placing here:
ReplyDeletehttp://theminiaturespage.com/boards/msg.mv?id=132948